Can You Even Use Spray Foam in Cold Weather?
Yes! But with temperatures dipping down below freezing for weeks at a time through most of the country, spraying foam insulation in winter is a lot tougher than in the warmer months. Jobs take longer, foam starts popping and shrinking, and breakdowns seem to be more frequent. There are, however, many things you can do to ensure your jobs are successful.
Correct Material Grade for Substrate Temperature
The right insulation makes all the difference when it comes to applying spray foam in winter-weather environments. For example, closed-cell foams can be formulated into winter blends that are designed to withstand colder environmental and substrate temperatures. Open-cell foams, however, cannot be formulated this way. Before starting any winter job, make sure to check the tech data sheet for product-specific spray foam temperature limits to ensure your product can handle the weather.
Correct Chemical Temperature
Once you’ve found the insulation products that can withstand the temperatures you’re working in, proper conditioning is vital. The key to keeping your material conditioned is maintaining the right temperature on your drums. While this can normally be a challenge in the coldest months, IDI has you covered with high-quality accessories to keep your chemicals in the sweet spot.
At what temperature should spray foam be sprayed and applied at?
To get the best results out of all spray foam products, IDI’s insulation experts recommend drums should be stored and used at temperatures between 70 and 80 degrees Fahrenheit. However, as always, there can be exceptions so check your tech data sheet for specifics. For instance, most open-cell spray foam products will work great at these recommended temperatures, but there are some that require drums to be at or above 90 degrees Fahrenheit. On the other hand, keeping closed-cell foam drums as close as possible to 80 degrees Fahrenheit without going over is the ideal. All that to say, just keeping your rig “in the shop” isn’t going to cut it – no matter what chemicals you’re using.
If you’re struggling to keep your chemicals at the right temperature, check out some of these tips from IDI’s experts:
- Put a thermometer on the wall of your rig so you can monitor the air temperature.
- Use a laser thermometer to monitor drum temperature.
- Lay some 2x4s under the drums to get them an inch and a half off the floor. This will allow warm air to get under the drums and warm them from the bottom.
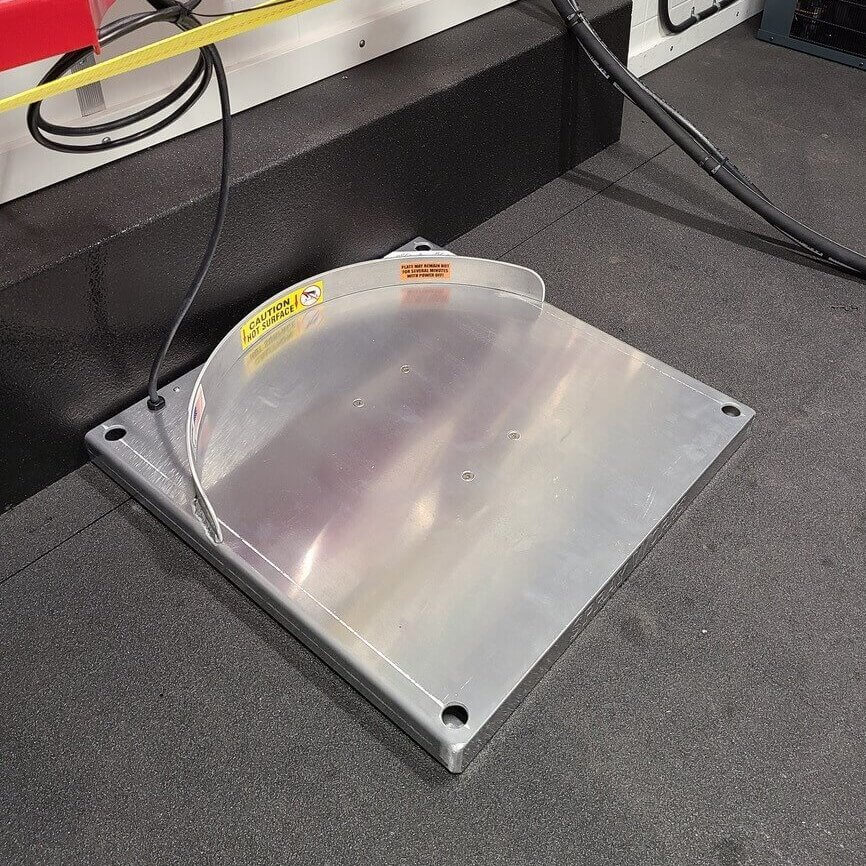
- Heated blankets are also available to help heat the drums.
Please keep in mind that the drums should be warmed no faster than 10 degrees per 24 hours, so if you have material that is 50 degrees, it can take more than three days to get those drums to the right temperature.
Adjusting for Ambient Temperature
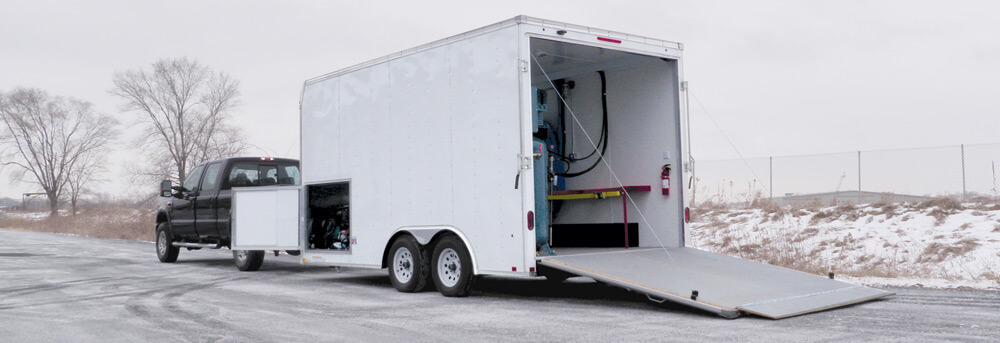
Keeping the material at the right temperature in the drum but too cold by the time it gets to the gun won’t get you the results you’re looking for. Using a “doggie door” — a small door in the rig just big enough for the hose — instead of leaving a large door open will help keep all the heat in the rig (if you’re looking for a rig with this feature, it comes standard in all rigs purchased from IDI).
Get Your Hose in Order
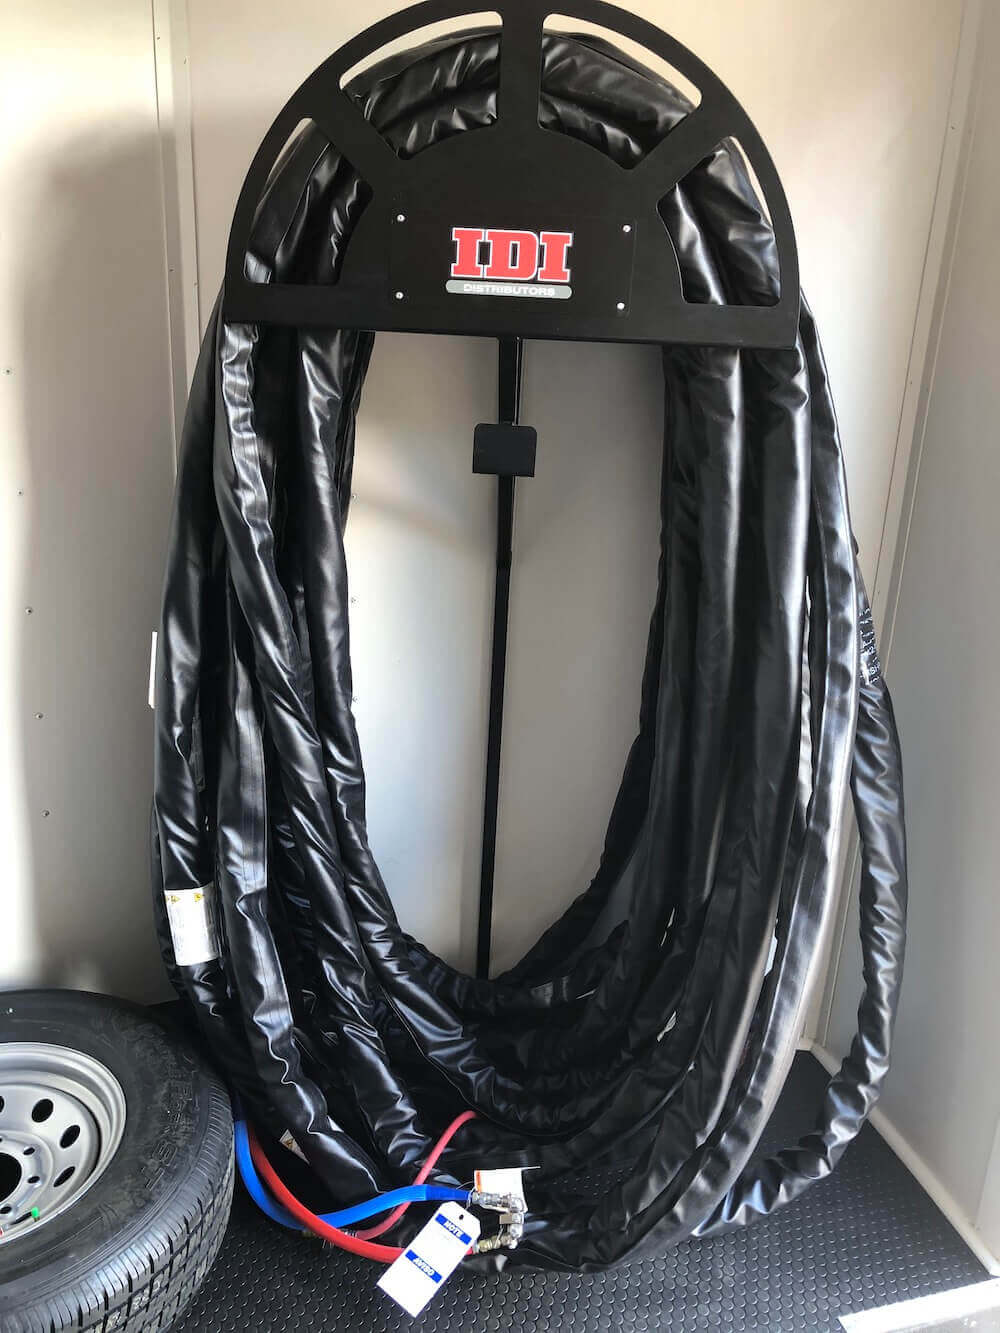
Next, consider the hose. If your hose is over two years old, its insulation is probably not performing as it should and some kind of replacement should be considered. Contact your IDI sales rep and ask them about the Sidewinder insulated hose wrap. Not only does it provide added insulation to your hose, but it also does a much better job of protecting it from damage.
While on the job, make sure to keep the hose off the snow, ice, and concrete. These will draw the heat out faster than the machine can warm it up. Park the rig as close to the building as possible so there is less hose exposed to the elements.
Slower, Steadier, Better
On those extremely cold days, going down one size on the gun’s mix chamber can help. This slows the flow of material just a little, keeping it in the heated system longer and allowing it to reach the desired temperature. Spraying the foam in thinner lifts can also make the foam a little more stable in cold temperatures. If you are spraying a foam that allows 4” per lift, try spraying it in two 2” lifts instead.
How To Use Heat
Heaters should be used to warm up the substrate prior to spraying foam. Indirect heaters are always recommended, but the most common heaters around are “torpedo heaters.” These heaters can work well when properly monitored, but it’s worth noting that they rely on fossil fuels that produce moisture. The moisture level of the substrate should not be allowed to exceed 18%, so if you’re going to use one of these heaters, keeping a simple moisture meter around will help you keep an eye on the moisture level.
It is also important to make sure the heaters get turned off prior to starting to apply the insulation. If the fumes from spraying get drawn through the heater, the heater in turn can put off toxic fumes. Once the insulation is applied, heat should be maintained in the building for at least 24 hours after spraying to allow the foam to complete the curing process.
Job Costing Considerations
The bottom line? It’s going to cost more money to do business in the winter than it does in the summer. As the temperature drops, so does the yield. Fuel for the heaters is an additional expense. Employees seem to move slower in the cold. It takes time to get chemicals up to the right temperature. With all these factors working against you, it’s important for your success to charge a little more for jobs that are done in the winter. The good news? No matter what obstacles you run into, you’ll have the entire IDI team to help you through.
If you’re ready to brave the cold temperatures and take on some winter work, explore all of IDI’s spray foam rig accessories to find the perfect weatherization equipment you need to get the job done.


