Getting the Best Blown-In Insulation Machine Coverage
Thanks to free machines and box stores, consumers think blowing fiberglass is easy. And in many ways, it can seem that way. We could run to a store today, buy some fiberglass, rent a machine and fill an attic. However, did it get done efficiently or were we wasting product?
Material makes up a large portion of the cost for any blown-in project. To a homeowner, losing $150 – $400 on fiberglass isn’t much. After all, they didn’t have to pay someone else to do it, so in their mind, they saved money. But, as a business owner, losing that money is a big deal. Luckily, there are ways you can efficiently blow fiberglass and not waste any product or profit.
The Basics of Glass Fiber Insulation
First, we need to acknowledge that the glass fibers are not what do the insulating. That is done by the air pockets in the fiberglass, which we measure as R-value. This means we need to “fluff up” the fiberglass to the manufacturer’s recommendation to get the needed R-value as well as correct coverage or yield.
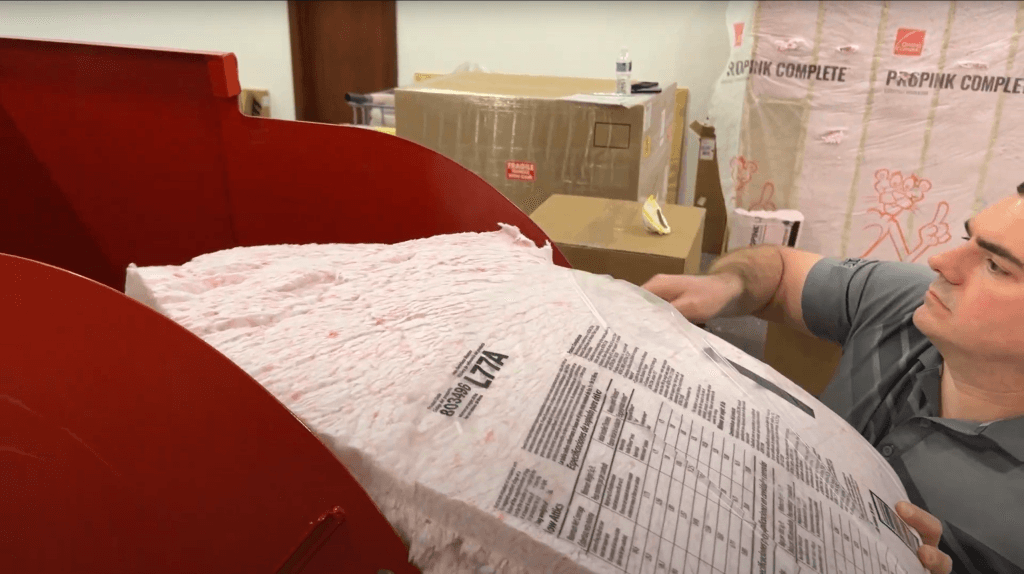
Getting the best coverage starts with how you load the machine. When opening a bag of fiberglass it should expand to more than double its size. If it doesn’t, like in the photo below, it will not break up properly, which means you will not get coverage. If this happens, contact your local IDI branch and we can guide you through the issue.
Loading the Machine
When a fiberglass bag is opened, it normally expands 200-300%. Be sure to give it time and let this happen. Installers often get in a hurry, open a bag of fiberglass and shove it into the hopper before it has a chance to expand. Expansion helps material pass through the machine at the right speed, allowing it to break up enough to achieve the correct coverage and R-value.
Be sure to check the agitators inside your machine for debris or build up — sometimes insulation bags will get dropped in a machine and will wrap around the agitators. This won’t do too much damage, but it reduces the agitator’s ability to break up the fiberglass.
Correct Feed Gate Settings
In the machine, fiberglass goes through the slide gate or feed gate. This determines how fast the fiberglass passes through the machine and into the airlock and is one of the most important factors to achieving coverage. It is also often the most overlooked. Ideally, the material will slow down just enough to get more fluff from the agitators.
Many installers believe that opening the gate will help them finish the job sooner. In reality, this uses more material and doesn’t save time. When determining the right settings to use, keep in mind that every machine is different, but for jobs like insulating an attic that require wide open blowing, a good starting point is to open the slide gate about 75%.
Keep Your Airlock Working at Its Best
After the slide gate, material drops into the airlock. This chamber uses air pressure to blow the material down the hose. Over time, rubber seals in the airlock wear down and can be damaged by debris dropped in the hopper). When seals are compromised, air leaks into the hopper and reduces blowing pressure, adversely impacting material breakup in the hose. An easy way to check your seals is to let the material run low in your hopper and watch for “blow back.” As you can see, air leaking past the airlock seals blows material up into the hopper. When this happens, it is time to change the seals.
Ideal Hose Attributes
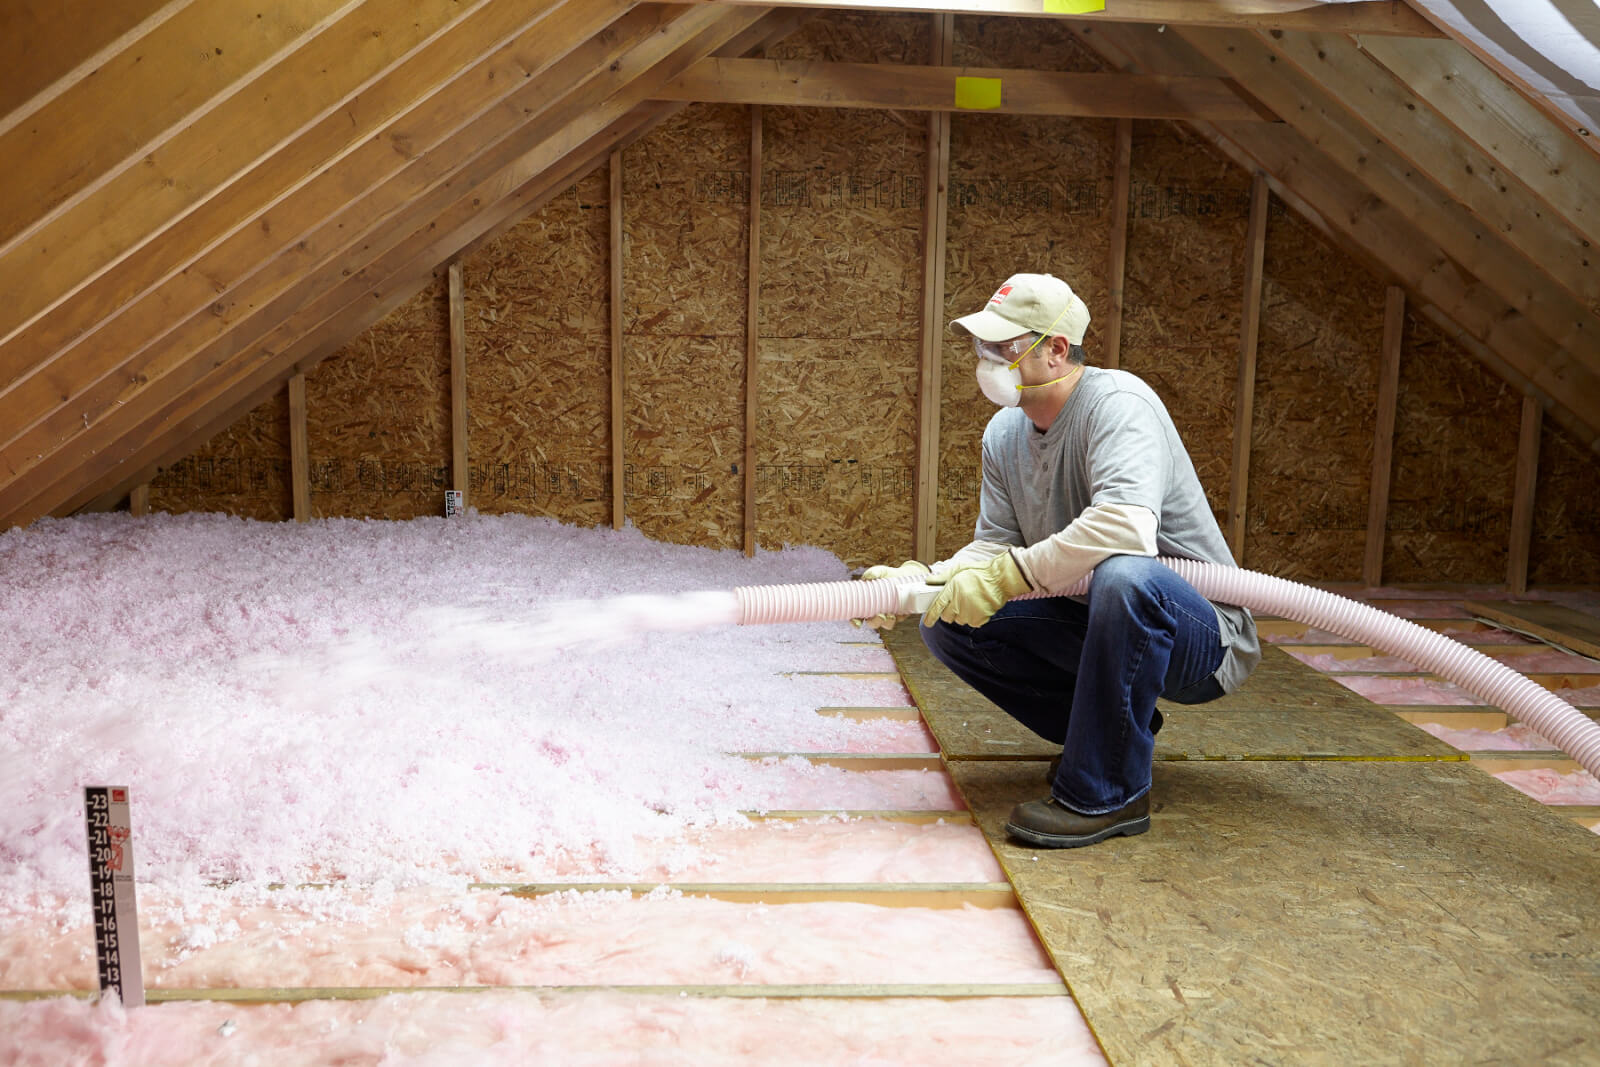
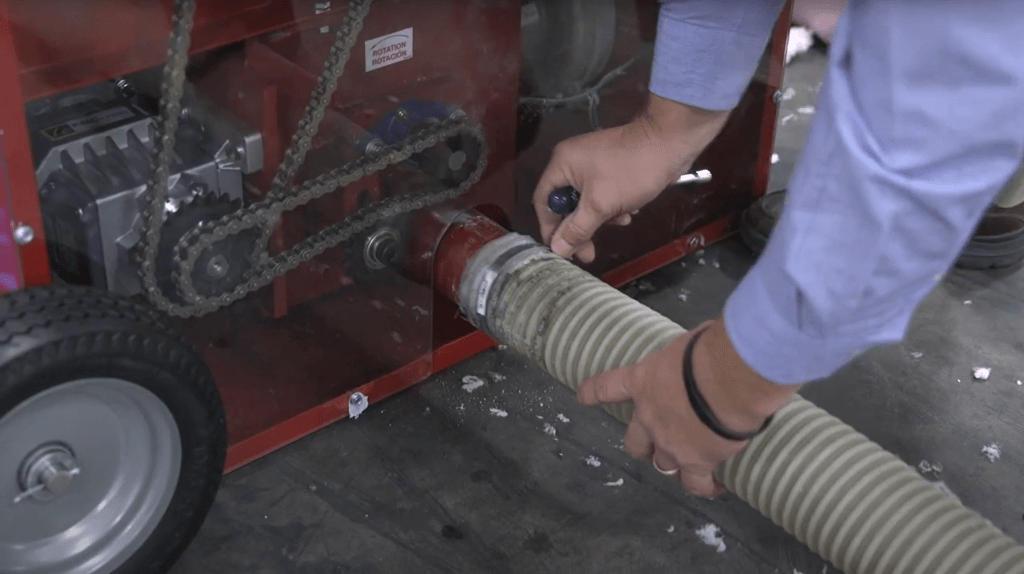
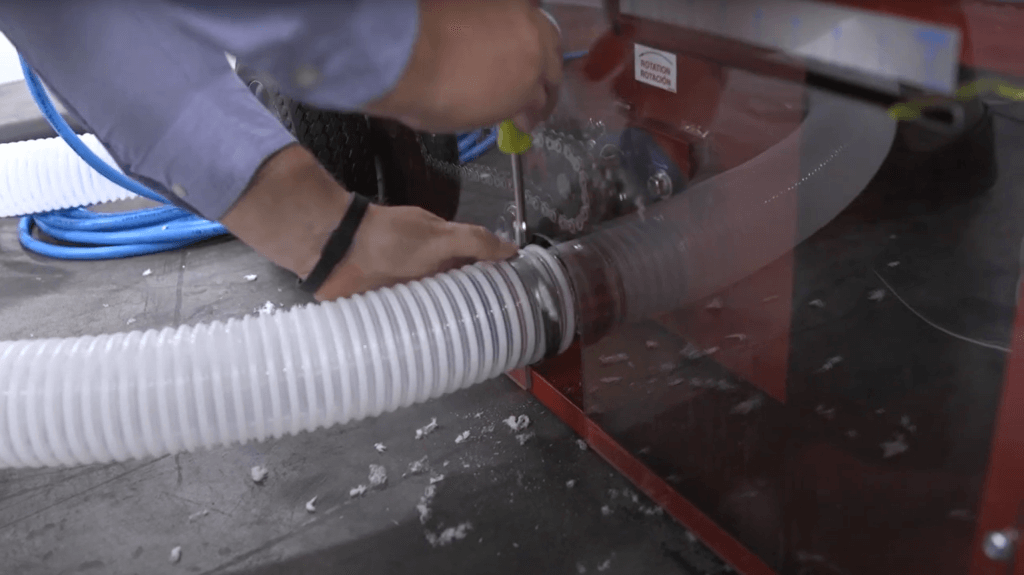
Once material leaves the machine, it needs enough pressure to travel down the hose and shoot out of the hose in an arc of about eight to 12 feet long. For most machines, the ideal hose length is 150’-200’. The ribs in the hose perform the final breakup of the material as it passes through. Less than 150’ and you won’t get full breakup. More than 200’ and can result in over-conditioning and more wasted product. Some jobs may require more than 200’ of hose, but building in an extra 5-10% on your material cost will cover you from losing profit. Additionally, hoses wear over time, and the resulting smoothing of the inside ridges and poor conditioning of material. Testing has shown worn hoses can result in a loss of coverage of up to 10%, and should be replaced based on usage.
High-Quality Results
Finally, the material blows out the end of the hose. There should be about an 8’-12’ arc, depending on the material you are using — it’s important to let the material blow without any restrictions. A common practice involves cupping your hand over the end of the hose to help direct where the fiberglass blows. But while it can help when blowing around an attic access point or evening out the top of the insulation, this technique should be used as little as possible. A lot of effort and science went into fluffing up this fiberglass, the last thing you want to do is pack the fiberglass back together in your hand and recompress the fibers. Keeping hand cupping to a minimum will save you roughly 5%-10% in wasted material.
There are a lot of factors that contribute to achieving coverage with fiberglass and plenty of troubleshooting tips to help with any issues. The good news is, once you dial your machine in to achieve coverage, you rarely need to adjust it. When you find you are losing coverage with the same settings, it’s usually an indication that your machine needs maintenance (new seals, new blower, clean the air filter, etc.).
For more information on installing fiberglass, net & blow fiberglass, spray foam, or any of the products we carry, reach out to your local branch, or any of us at IDI where we look forward to earning your business every day.


